DIY Music Maker as Easy as Pi
- Gannett Cassidy

- Aug 13, 2018
- 2 min read

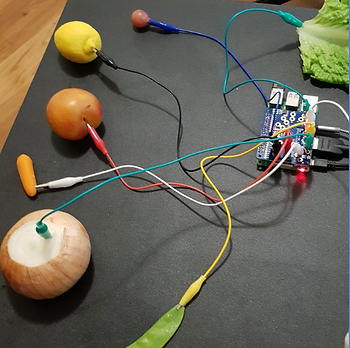
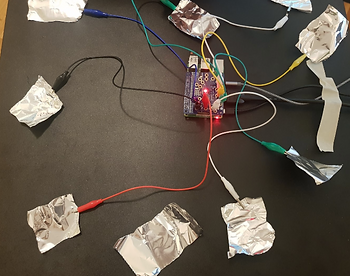
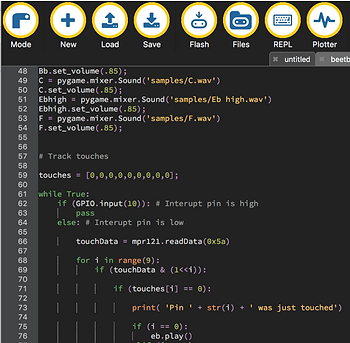
This month, I've been helping music teacher Michael Sobolak with DIY musical instrument projects using a Raspberry Pi and some other fun microcontrollers. This first project on the left connected the RPi using a capacitive touch HAT to turn some fresh produce into a MIDI keyboard. If you ever made a banana keyboard using a MakeyMakey, this follows the same principles - you can also do something like this with a Microbit, although the Raspberry Pi lets you code and control in the same device. We followed this handy project guide from Adafruit. It's been a fun experiment, but getting started with the RPi and figuring out Python took longer than I expected - good to know before starting this project with students!

Later, I programmed another quick response game using some switches and a separate breadboard. The original plan comes from RPi's site here, and I adapted it to include an audible component using the same .wav files from our fruit keyboard. I also expanded the program to include a fourth and fifth player, color coding each response so that winners don't have to enter their names to know if they've won.

These would be great projects to do for a middle school or high school maker space, especially if you're looking to incorporate creativity and design into the curriculum. Students have the ability to choose their own sound files and devices for trigger switches - fruit, vegetables, tin foil, or anything conductive enough to make music! Adding copper tape or conductive pens could also turn this project from STEM into STEAM. A piano key requires more than eight individual inputs for a full Western scale, so using a MicroBit would be more difficult, but possible. Once you program the inputs for each specific MIDI note, you can use the copper tape to make separate "key" triggers and play the device just like an electric piano!
Comments